Now that we have familiarized ourselves with Virtualized Services in the context of Containers, let’s install a fun little starter project. We are going to set up a simple Dashboard, (vital if you are joining the Homelab community) and it should only take a single docker command.
In the Self-hosting community there are a few different meanings to the term “Dashboard”.
The first meaning is a display that shows metrics and charts of different analytics over a given period of time. A popular platform for this type of Dashboard is Grafana.
The second type of Dashboard (and the one we will be setting up today) is effectively a fancy homepage. It organizes links to any website or service of your choosing. It can also connect to a web API and display metadata from a running service.

Our chosen Dashboard of choice will be Heimdall.
This tutorial is intended for a system running Ubuntu 20.04, (such as the one we set up in a previous post)
Enter the command below, (Yes the entire block of text) and press enter. (Before running this command, replace [USER] with your username to ensure the file path aligns with your home directory to store the config files for this Docker Container)
sudo docker run -d \
--name=heimdall \
-e PUID=1000 \
-e PGID=1000 \
-e TZ=America/New_York \
-p 80:80 \
-p 443:443 \
-v /home/[USER]/heimdall/config:/config \
--restart unless-stopped \
lscr.io/linuxserver/heimdall
You should see something to the effect of, “Unable to find the Image locally, Pulling from Linuxserver/Heimdall” Don’t worry, This is what is supposed to happen. Docker is pulling a copy of the docker image.
Now this all may seem like a foreign language, but the fields are explained out below.
-p 80 (refers to the http graphic user interface)
-p 443 (refers to the https graphic user interface)
-e PUID=1000 (corresponds with the UserID)
-e PGID=1000 (Corresponds with the GroupID)
-e TZ=America/New_York (Specifies the timezone)
-v /config (Contains configuration files)
Notice the repeating ‘-p’ and ‘-e’ parameters.
These are commonly used in Docker setups as the -p refer to the Ports that will be exposed from within the Docker Container and the port that is exposed on the Host system. The -e, however refers to an environment variable that you are establishing in the setup. These parameters will vary with each image being installed.
Now to verify that we have successfully spun up the docker container, run the following command:
sudo docker ps
The output will display stats on currently running docker containers, showing the Container ID, Image, Status, and Ports. Assuming Heimdall is running correctly, now we need to find your IP Address and navigate to the running instance of Heimdall.
Type the following command to determine your IP address
sudo ip a | grep 192
This command will display your IP address, but will search the terminal output for the number 192. This is usually the first octet in a Home Office network.
For example’s sake, lets say the output says: 192.168.1.177/22 192.168.1.177 would be the IP address of that host. Enter that IP address into the search bar of your browser.
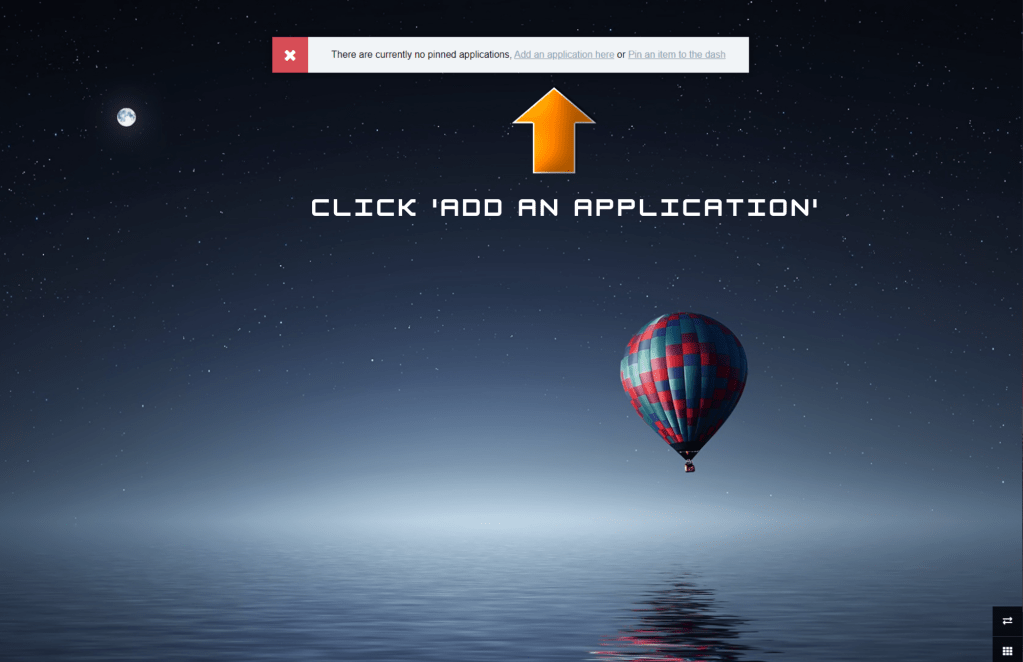
The image below is what you should see in your browser. Now we are going to set up an example bookmark. For this example, we are going to add a Website to navigate to.
Step 1: Click ‘Add an application here’
For this example we will be adding a link to a popular reddit page that has valuable resources for self-hosting.
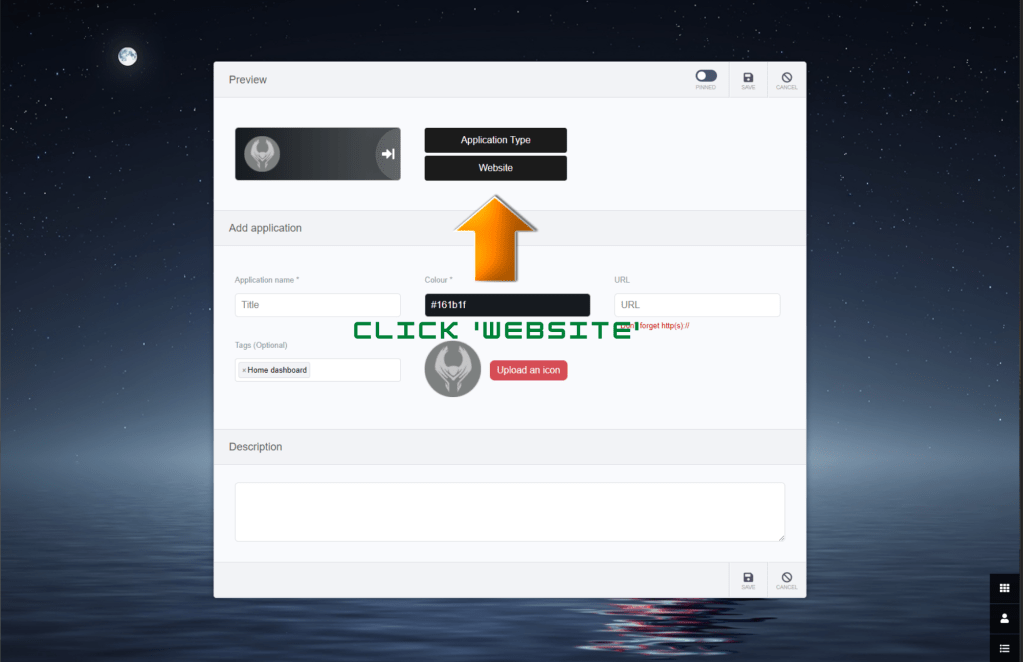
Step 2: Click on Website, and enter the URL https://www.reddit.com/r/selfhosted/
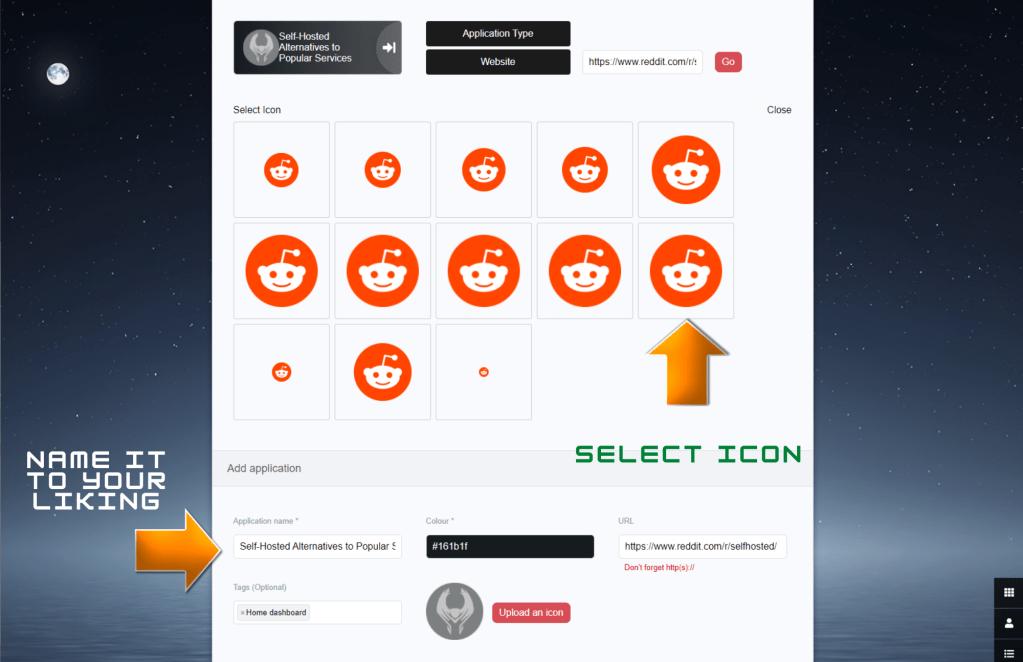
Step 3: Click Go, and several similar icons should pop up. Select one. Edit the Application text and name it whatever you want. I edited mine to say ‘Self-Host’
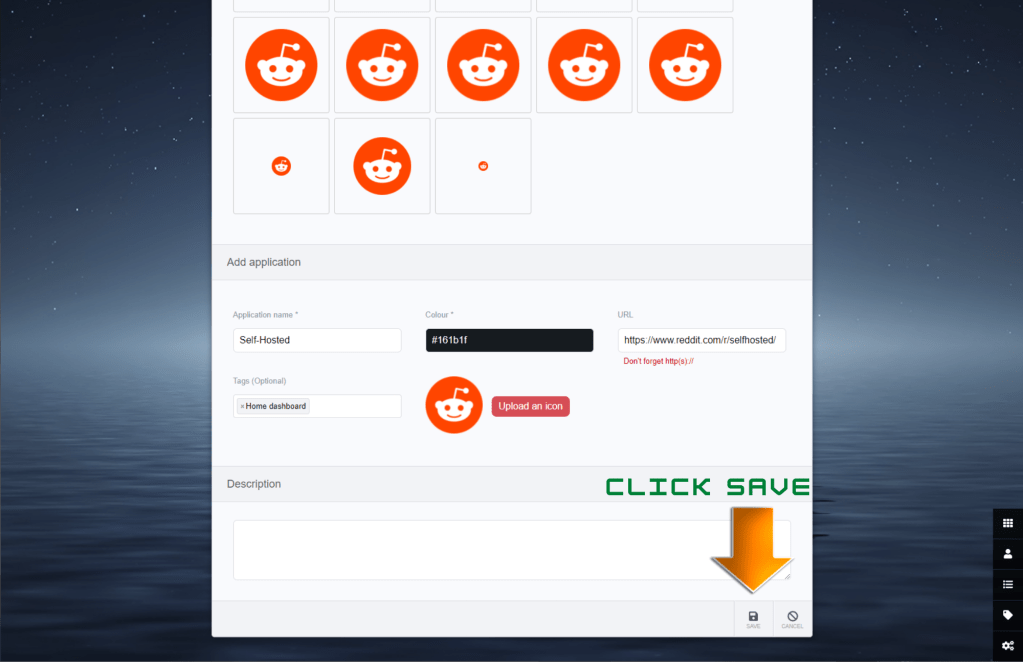
Click save and that should do it for your first Dashboard Link. Clicking this icon should take you to the link you setup in the previous steps.
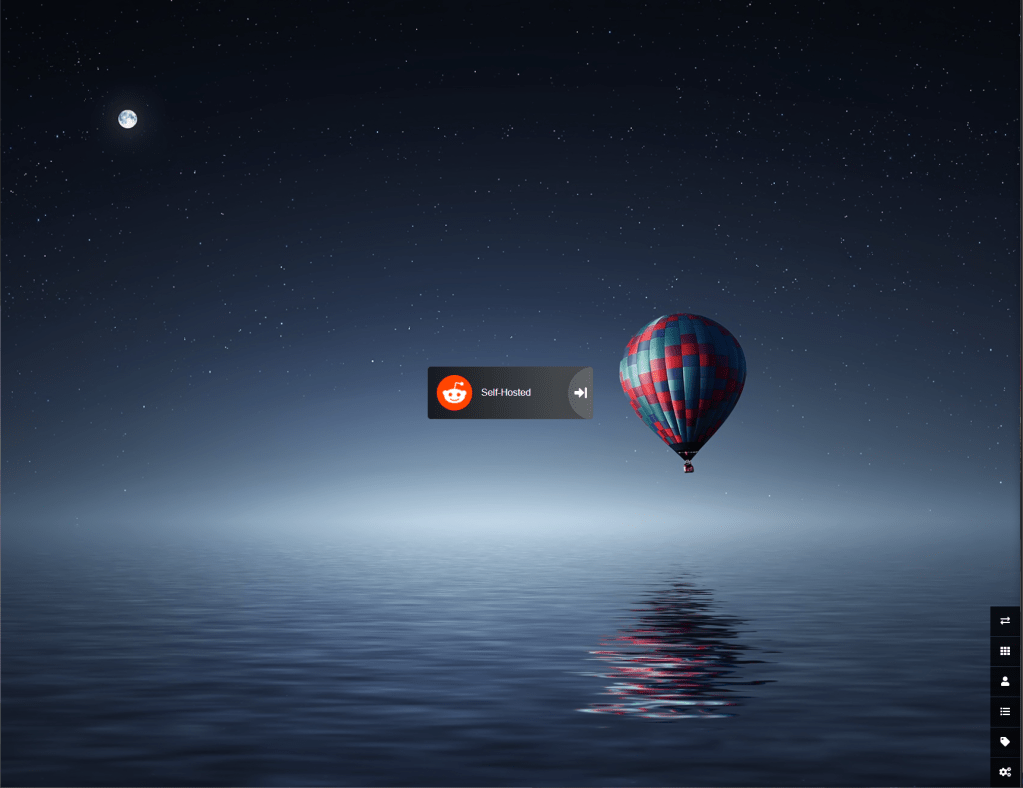
Not only are these dashboards useful for websites you might visit often, but also to access your homelab services that may be assigned strictly with local IP addresses and random high port numbers.
Feel free to customize the Dashboard with the settings menu, and have fun with it. That concludes this tutorial. Reach out via the ‘Contact me’ section if you have any questions. Stay curious, friends.

One response to “Deploying your own Dashboard via Docker”
[…] you are here from a previous post, you should see the Heimdall Dashboard container running and using port 80 and 443, otherwise refer back a few posts to install […]
LikeLike