Raspberry Pi Imager is an essential tool for anyone working with Raspberry Pi devices. This simple yet powerful application allows users to flash operating system images onto microSD cards quickly and reliably. In this guide, we’ll explore the benefits of using Raspberry Pi Imager and walk you through the steps to install it as a Flatpak on a Linux machine.

Why Choose Raspberry Pi Imager?
- Ease of Use: Raspberry Pi Imager features an intuitive interface that makes it accessible for users of all skill levels. From selecting the OS to formatting your microSD card, the process is straightforward and user-friendly.
- Preconfigured OS Options: It offers a wide range of ready-to-use operating systems, including Raspberry Pi OS, Ubuntu, and more. No need to search for and download images manually.
- Custom Image Support: Advanced users can select custom .img files for specific projects, giving maximum flexibility.
- Built-in SD Card Management: The tool can format cards and write images in one seamless operation, reducing the need for additional software.
- Cross-Platform Compatibility: Available for Windows, macOS, and Linux, Raspberry Pi Imager ensures a consistent experience across operating systems.
What is Flatpak?
Flatpak is a modern application packaging format for Linux, designed to work across various distributions. It provides a secure, sandboxed environment for applications, ensuring consistency and compatibility.

Steps to Install Raspberry Pi Imager as a Flatpak
Follow these steps to install Raspberry Pi Imager using Flatpak on a Linux system:
1. Ensure Flatpak is Installed:
- Most modern Linux distributions include Flatpak by default. If not, install it using your package manager. For example:
sudo apt install flatpak # For Debian/Ubuntu-based systems
sudo dnf install flatpak # For Fedora-based systems
2. Add the Flathub Repository:
- Flathub is the official source for Flatpak applications. Add it to your system:
flatpak remote-add --if-not-exists flathub https://flathub.org/repo/flathub.flatpakrepo3. Search for Raspberry Pi Imager:
- Confirm that Raspberry Pi Imager is available:
flatpak search raspberrypi-imager4. Install Raspberry Pi Imager:
- Use the following command to install the application:
flatpak install flathub org.raspberrypi.imager5. Launch Raspberry Pi Imager:
- After installation, you can launch the application:
flatpak run org.raspberrypi.imagerBenefits of Installing via Flatpak
- Isolation: Flatpak apps run in a sandbox, minimizing the risk of interfering with system libraries.
- Updates: Flathub ensures that you receive the latest updates and security patches for Raspberry Pi Imager.
- Compatibility: Works across various Linux distributions without requiring specific dependencies.
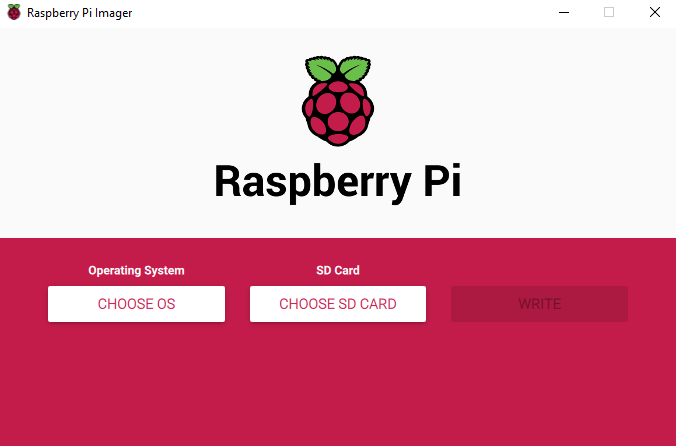
Getting Started with Raspberry Pi Imager
Once installed, using Raspberry Pi Imager is simple:
- Insert your microSD card into your computer.
- Launch Raspberry Pi Imager.
- Select your desired operating system from the list or choose a custom image.
- Select your microSD card as the target device.
- Click “Write” and let Raspberry Pi Imager handle the rest.
Raspberry Pi Imager simplifies the process of preparing microSD cards for Raspberry Pi projects, making it an indispensable tool for enthusiasts and professionals alike. By installing it as a Flatpak, you ensure a secure, consistent, and up-to-date experience. Dive in today and unlock the full potential of your Raspberry Pi.
