Docker Desktop is a tool that allows you to run and manage Docker containers on your local machine. In this tutorial, we’ll cover the basics of how to operate Docker Desktop on Windows or macOS.
Now some of you may be wondering, why on earth would I want to run Docker on Windows? Well, some of us don’t have access to old or available hardware to run Linux on. And maybe we don’t want to take the leap and install Linux on our Daily Driver just yet. Well if you don’t have the means to setup a Linux machine, or don’t have access / time to setup a dedicated Linux machine, fret not. We can run Docker Containers on Windows. This tutorial will show you how.
Prerequisites:
-Virtualization must be enabled in the CPU settings. Check this guide out to see how to go about that.
-WSL (Windows Subsystem for Linux) is installed. Refer to this guide if you have any questions.
Now that the boring stuff is out of the way, lets dive right in.
Step 1: Install Docker Desktop
The first step is to download and install Docker Desktop for your operating system. You can find the download links for both Windows and macOS below.
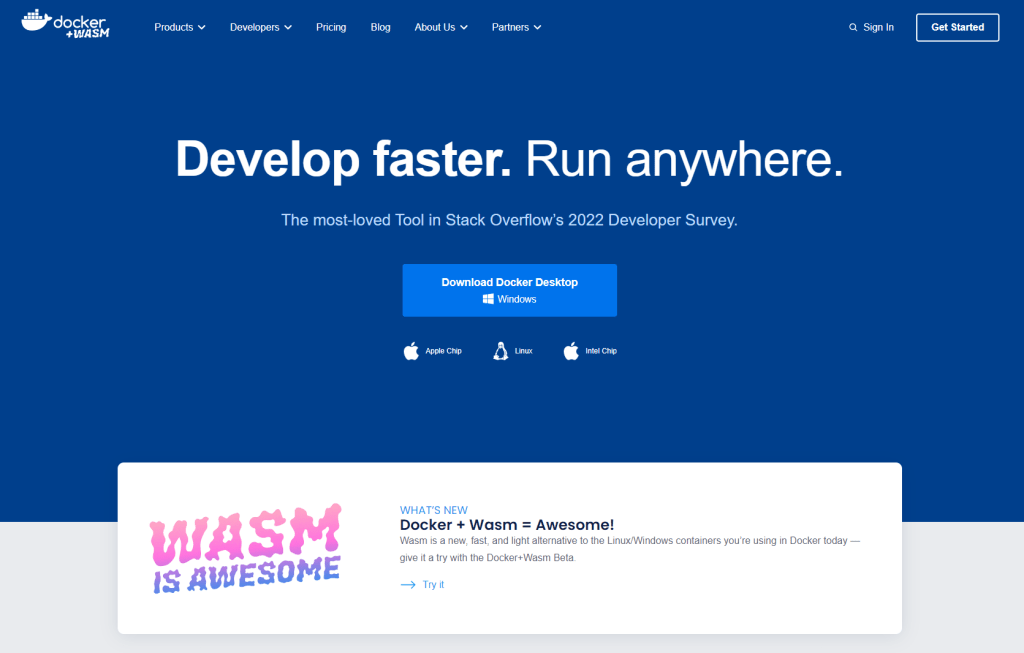
https://www.docker.com/products/docker-desktop/
Once you’ve downloaded the installation file, run it and follow the instructions to complete the installation.
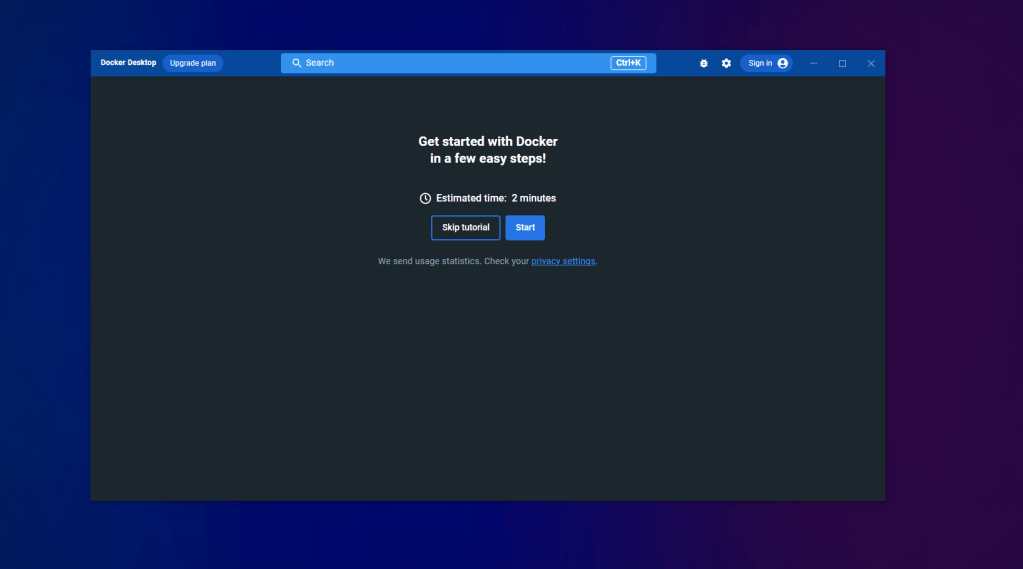
Step 2: Start Docker Desktop
After installing Docker Desktop, you can start it by opening the application from your applications menu or the Docker icon in your system tray. When you start Docker Desktop for the first time, it will download the necessary images and create a default Docker environment.
Step 3: Create and manage containers
Once Docker Desktop is running, you can start creating and managing Docker containers. A container is a lightweight and portable executable unit of software that packages up an application and all its dependencies.

To create a container, you’ll need to have access to a Docker image. You can think of a Docker image as a blueprint for a container. You can create a Docker image from scratch, or you can use one that’s already been created by someone else and uploaded to the Docker Hub.
The latter is my preferred deployment use, since I am not a Docker guru.
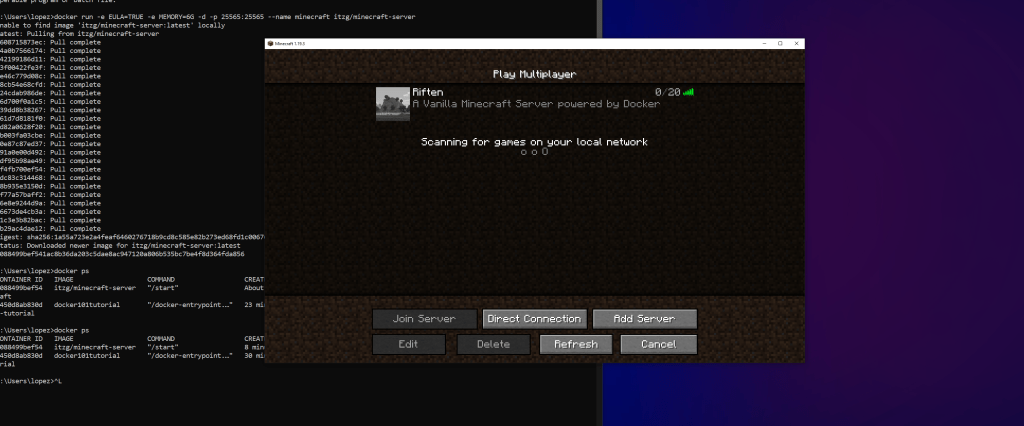
To create a container from an image, you’ll need to use the ‘docker run’ command. For example, to create a new container from the a minecraft server image, open your command line and run the following command:
docker run -e EULA=TRUE -e MEMORY=6G -d -p 25565:25565 –name minecraft itzg/minecraft-server
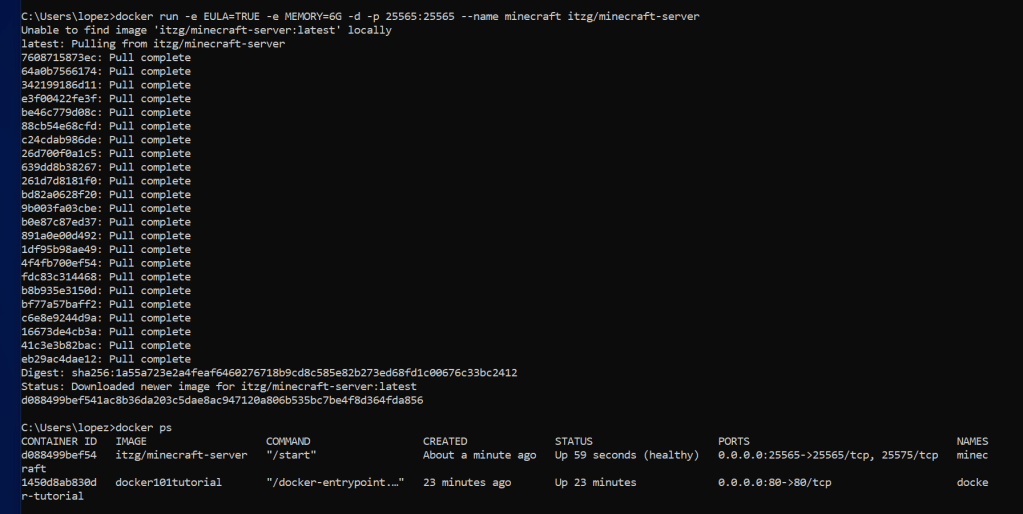
This command will create a new container, map port 25565 on the host to port 255665 in the container, and run the Minecraft Server image in the container.
You can view a list of running containers by running the ‘docker ps’ command or by checking the Docker Desktop running containers submenu. To stop a container, use the ‘docker stop’ command, followed by the container ID or name.
Step 4: Manage Docker resources
Docker Desktop allows you to manage the resources that are available to Docker containers, such as CPU and memory usage. To configure these resources, click on the Docker icon in your system tray and select “Preferences”. From here, you can adjust the resources allocated to Docker, such as CPU cores and memory.
You can also manage the images and containers stored on your local machine from the Docker Desktop application.
Conclusion
In this tutorial, we covered the basics of how to operate Docker Desktop on Windows or macOS. With Docker Desktop, you can easily create and manage Docker containers on your local machine, making it easy to test and deploy applications locally before moving them to a production environment. Docker Desktop can also be used to deploy fun containers such as a Minecraft Server for you and your family to enjoy crafting in peace.
Have fun and always keep learning.
