By popular demand, we are going over the oh-so-simple tutorial of how to set up your very own Plex Media Server.
First question you might have: “What items will I need?”
Well all you will need for this project is an inexpensive, dedicated computer running Linux that can remain on to host your Plex Server day and night. (Peripherals, ie. Keyboard and Monitor, are also required for the installation.) No spare monitor? If your computer has an HDMI port, try hooking it up to your TV for the install. Hey, we work with what we have sometimes.
Second Question you might have: “What is Plex and why do I care?”
Plex is a Media Server Software that allows users to host their own Movies, Music, and TV Shows in a beautiful user interface, that is accessible across virtually all smart devices (ie. FireTV, Roku, AppleTV.) If you host your own Plex Media Server, you can control what movies you add to it, and you can watch it from just about any device in the house. The Plex software organizes the media by adding cover art, subtitles, alphabetical organization, title cards, and much more. In simpler terms, you can basically create and host your own Netflix.

For this install, this computer can be an old laptop, an old PC you have from work, or anything that can, or has run Windows in the past, should work just fine. As for the installation portion, we can refer back to a previous post that utilizes a trusty tool called Etcher. This tool makes it absolutely cake to install a new Linux distro to your laptop.
Once you settle on a Linux distribution, commands may vary, but for the sake of this tutorial, we will be installing Plex Media Server onto Ubuntu Server. Once downloaded to a known place, follow the instructions on the Linux Install Post mentioned above and you should be ready to go.
Update to the Initial Install post: When booting from the USB, the initial Boot-interrupt key may vary. The Previous post mentions pressing F12 in step 3, but this may vary based on Hardware Vendor. Look up laptop/PC manufacturer to verify.
New installs can be a bit intimidating to the new Linux User. Luckily most of the default settings do not need to be changed, and most installers are quite user-friendly.
With Ubuntu Server all installed and ready to go, you can reboot and ensure everything is running well. My recommendation is to plug this freshly installed Server into your Home Router, and remotely manage the server via SSH. Hostinger Tutorials has a solid breakdown on SSH fundamentals.
After booting up your new server, log in (remotely or locally, it’s all up to you) and ensure Snapd is installed. By default, Snapd (or the Snap Daemon) is installed on Ubuntu. Canonical, the company that makes Ubuntu, also makes Snap packages. These are bundles of code that can be installed and can run various programs that would be used day to day. I have a more in-depth write-up on Snap Packages and a few of their contemporaries. Click on the link below to take a read.
Once the Snap Daemon is verified installed, (to reiterate, it should be there by default on all Ubuntu Server versions) you can download the Plex Media Server Snap Package.
IF YOU ARE RUNNING A LINUX DISTRIBUTION WITHOUT SNAPD INSTALLED, TYPE THE FOLLOWING:
sudo apt install snapd
Confirm the installation, wait for the download, the type the following:
sudo snap install plexmediaserver
You should see a small progress bar go across the bottom of your terminal as the Snap package is downloaded, installed and fully setup. Next, determine the IP address of your host so you can navigate to the Plex Setup Wizard in a Web Browser. (This part is why it is important that your Server is plugged into your home router, making it accessible across your Local LAN).
Let’s pretend you determine your IP address to be 192.168.9.237 for the Plex Media Server. Navigate to 192.168.9.237:32400 (IP address and Port must be accurate for setup). Port 32400 is the default Port that plex uses for managing Media.
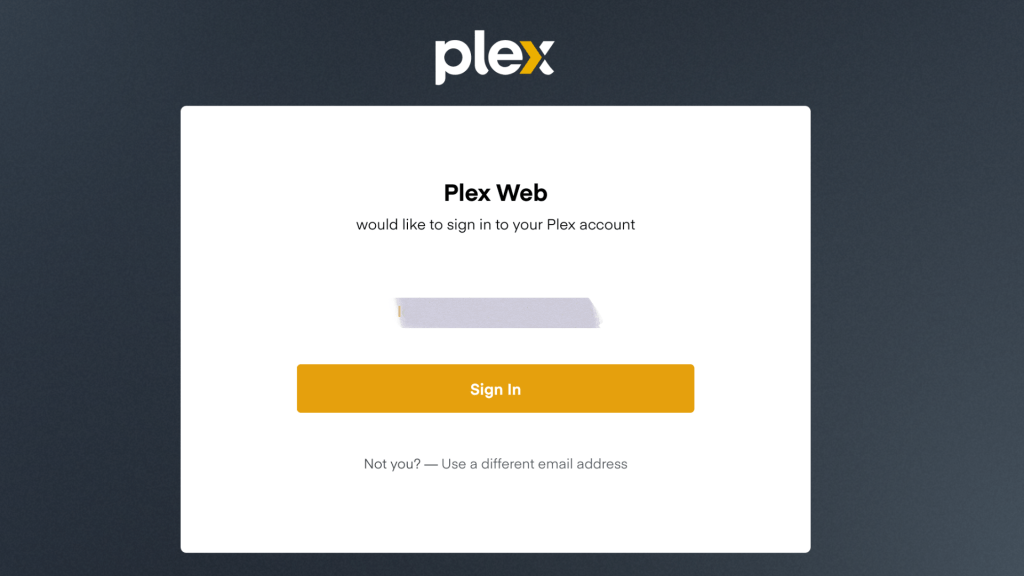
You should be greeted with a Plex screen that is asking you to login to an existing account. No account? No worries, Open a new tab and go to Plex.tv to create an account. After that you can connect your new server to your account and boom.
Follow the prompts, hook up your media to the Server and point the Plex Software to the media folder and Plex will work its magic. Assuming you have any stored media, it will begin indexing and providing cover artwork for the movies, music, or shows.
Don’t have any stored movies or music? Check out this post that can show you how to turn your DVD Collection into digital media so you can turn your stack of DVDs into your own personal Netflix.
Hopefully this post has been helpful along your Media Server Journey. Feel free to reach out if you have any questions.
Keep on trying new things, and keep on learning.
Stay Curious, Friends!
