Do you have a collection of CDs that you want digitized? Do you have a curated music library that you want on your computer? Well if you are tired of looking at that stack of CDs and you want to take your music with you on the go, we will go over a solution that will work for you.

The term “ripping CDs” just means to take the songs or content on a CD and pull the soft copies off for your own personal use. There are dozens of tools that allow for this, but today I am going to go over a Newbie-friendly route that I have used in the past.
This tutorial should work with any Debian-based system that is compatible with the APT package manager )to include Ubuntu 20.04).
The program that we will be using today is called Sound-Juicer.
First step is to make sure the CD is in the optical drive and recognized by your computer. After you make sure your optical reader is hooked up, and has the CD in it, run the following command:
sudo apt install sound-juicer
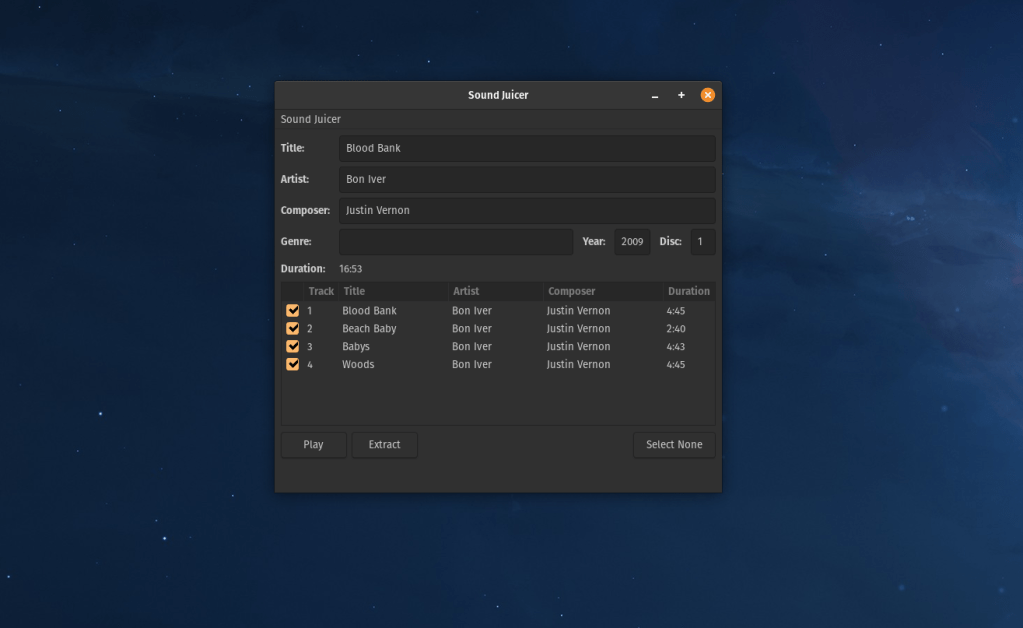
After running this command and allowing the download, find the application by pressing Super Key and searching ‘sound-juicer’. You should see a screen similar to the screenshot below. (CD information should automatically populate if you have internet connection.)
Next step is to press ‘Extract’ and then we wait. Each song should be selected by default, and the songs will be automatically downloaded into your Music directory.
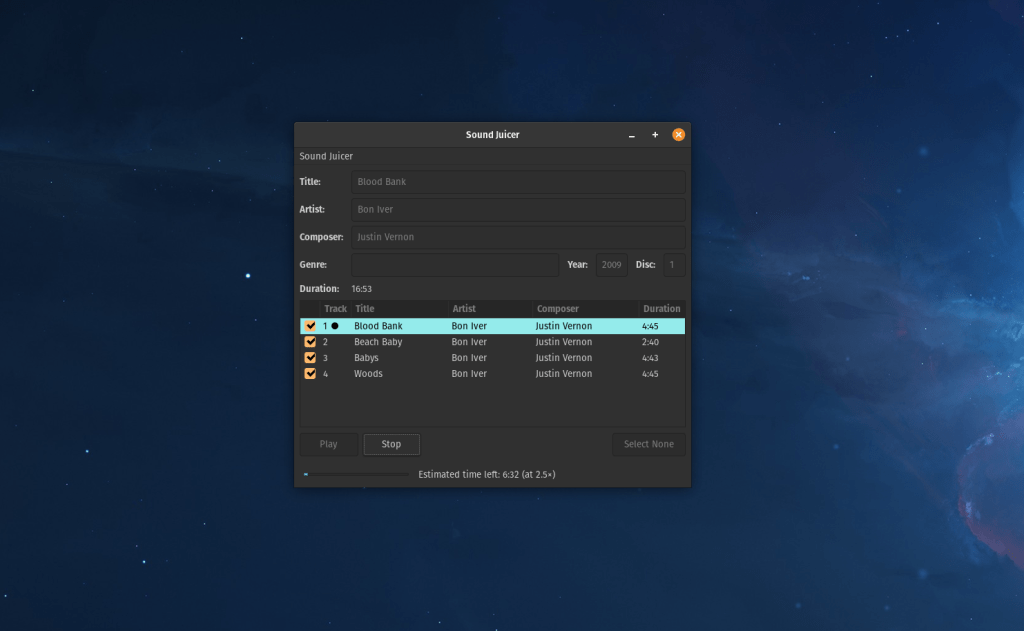
The test CD I used took about ten minutes, give or take, and has four songs on it, so wait-time may vary based on CD size and track.
Now take this and digitize whatever music you feel is worthy of your Media Collection and we can go over some nice Media Organizers in a future post.
Hopefully you found this process as easy and intuitive as I did. As always, feel free to reach out with any questions via the contact page. I hope you learned something today, stay safe and stay curious.
