A few posts ago, I wrote about a device called a “Rubber Ducky”. A “Rubber Ducky” is a device that is often used by Security Professionals to test the security of Companies’ Information Systems and Networks. It often looks like a USB drive, and can plug into any computer. The sneakiness comes from the Ducky’s ability to trick any system into thinking that the USB Drive is just a harmless keyboard. No IT infrastructure is going to block the usage of KEYBOARDS. That would be chaos. That being said, the Ducky then takes advantage of this Keyboard-disguise and executes pre-determined “Key-strokes” from this fake keyboard.

Let that sink in for a second. This thumb-drive can accomplish ANYTHING that a person with a keyboard can, given it is plugged in long enough. Quite a bit of damage can be done in a just minute or two, from even amateur script-kiddies, not to mention what damage actually targeted payloads can do. The possibilities are endless.

So a few posts ago, when I had written about the Rubber Ducky, I had talked about the fact that you can purchase these devices from Hak5 and when they were available, they cost upwards of 50 USD a piece. Now I don’t know about you, but I am not made of money, so I was curious about cheaper alternatives. Especially since this is a USB drive that could potentially get lost or left behind.

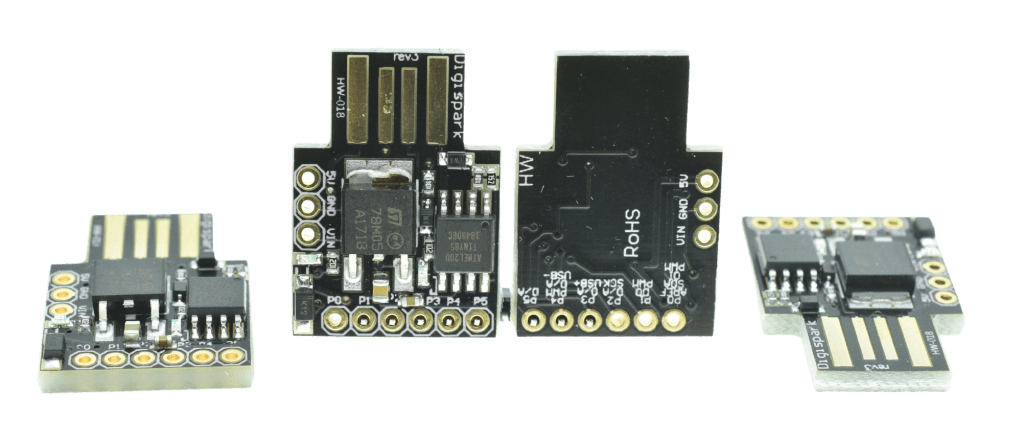
Lucky for me, several people have already done the heavy lifting and discovered inexpensive alternatives. My favorite alternative is the Digispark Rubber Ducky. Seytonic has an excellent walk-through that I have referred back to countless times. The Digispark Rubber Ducky relies on an inexpensive Arduino development board known as the Attiny85. These cheap lil guys run about 5 USD a piece and can be bought in bulk for an even better deal.
Today we are going to go over the steps on how to configure a cheap Rubber Ducky Alternative.
(Note: This Tutorial is written for a machine running Windows 10)
- Step 1. Make sure you have Arduino IDE installed. Visit the Arduino Software page to download.
- Step 2. Next, download the drivers required for the Digispark Arduino Development board. Here is the Github page for the drivers. Make sure to download the ‘digistump.drivers.zip’ File.
- Step 3. Save the zip file to downloads and extract the contents to Desktop just to make things easy.
- Step 4. Now go inside the Digistump Drivers folder and double Click DPinst64 to install. Click Yes, Next, and make sure ALL OF THE DRIVERS are selected then click Finish.
- After this we should be ready to move back to your Arduino IDE. Inside the IDE, go to File > Preferences. In the preferences window, go down to the field that says “Additional Boards Manager URLs” and add the URL: http://digistump.com/package_digistump_index.json
- Click OK. Now go to Tools > Boards > Boards Manager.
- Click the Type Dropdown and change it to Contributed, In the Filter Search Bar, enter Digispark.
- Click the Install option that says Digistump AVR Boards.
- After the installation is complete, close out of that menu and go to the Tools menu in the Main IDE dropdowns menu and click the panel that starts with Board: and scroll down to Digispark (Default – 16.5mhz)
- Next go to File > Examples > Digispark > DigisparkKeyboard > Keyboard
- Next go to Tools and find the panel that starts with Programmer: and change the selected option to USBTinyISP
- ALRIGHT. Now that we have done all that, you should finally be able to upload code to your Digispark. DO NOT PLUG IT IN YET.
- Click Upload on the example script, then when the IDE prompts you to, Insert the Digispark Development Board into your USB Slot and you should be all good to go! Within seconds you should see “Hello Digispark!” start being printed across the screen multiple times.
The example script you selected a few steps earlier prints “Hello Digispark!” on a loop. Feel free to customize the text and edit the new “Ducky Script” to your liking.

Even though Github has some useful repositories of Digispark Ducky scripts, keep in mind that these scripts were likely written for penetration testing purposes. TEST THESE SCRIPTS OUT AT YOUR OWN RISK.
Next Project, I’d like to disguise this Arduino board as a common office peripheral such as a mouse or a smart-card reader. Stay tuned for that one. As always, I hope this tutorial has been helpful. Have fun and stay curious!
