Are you looking for a Dropbox-type solution for your Linux Server?Would you like to backup files across multiple computers?
Today we are going to deploy a solution that will accomplish both of those objectives while using a fancy Web-based User Interface. The best part of this solution is that it is Free and Open-source.
Syncthing is a powerful file synchronization tool that can be deployed easily all while being secure and privacy oriented.

We are going to be deploying Syncthing in a docker container for easy management. Before you start, I’d grab a snack or some coffee, because this one is a bit lengthy.
This tutorial is intended for a system running Docker, (such as the one we set up in a previous post)
Run the following command to determine any running docker containers.
sudo docker ps
If you are here from a previous post, you should see the Heimdall Dashboard container running and using port 80 and 443, otherwise refer back a few posts to install Docker.
To deploy SyncThing in a Docker container, run the following command below. (MAKE SURE YOU REPLACE [USER] with your own username to properly deploy the container)
sudo docker run -d \
--name=syncthing \
--hostname=syncthing \
-e PUID=1000 \
-e PGID=1000 \
-e TZ=America/New_York \
-p 8384:8384 \
-p 22000:22000/tcp \
-p 22000:22000/udp \
-p 21027:21027/udp \
-v /home/[USER]/Sync/config:/config \
-v /home/[USER]/Sync:/Sync \
--restart unless-stopped \
lscr.io/linuxserver/syncthing
Don’t worry about the Directory ‘Sync’ or ‘config’.
Those will be created automatically as the Docker container gets deployed.
Assuming the docker container deployed properly, you should now see a new Sync Directory in your User’s Home Directory.
Look inside that directory.
You can do this by running the command below:
(Again, replace [USER] with your username)
ls /home/[USER]/Sync
We should see a config directory inside.
Run the following command to see info on your running containers:
sudo docker ps
Now if we navigate to 127.0.0.1:8384 in the Search Bar of your Browser, it should take us to the GUI for Syncthing.
First we see a red banner that reads ‘Danger’. (In less words, this notice is telling you to setup a password for your GUI)
Next we see a green banner that basically reiterates the same thing, but looks far less intimidating. Click OK to dismiss this one.
Return to the Red Banner and click ‘Settings’
Click the Tab that says ‘GUI’
Entire desired Username and Password.
Select ‘Use HTTPS for GUI’
Click the dropdown for GUI Theme and select Dark. (Everything is better with Dark Mode)
Click Save.
The connection will be reset and your browser will warn you that your connection is not private. (This just means your browser detects self-signed certificates using HTTPS, no cause for alarm, in this case)
Click ‘Advanced’ and ‘Proceed’
Enter the Username and Password you just came up with.
Click the ‘Actions’ Dropdown in the top right.
Click the ‘Edit Folder Defaults’ button
Delete ‘/config’ and start typing ‘/Sync’ (it should suggest the rest)
Click that Sync Directory.
Name the Folder in the ‘Folder Label’ Field.
Click Save, then save again.
Click on the original ‘Default Folder’ and click ‘Edit’
Click ‘Remove’ and ‘Yes’
(The original ‘Default Folder’ attempts to save into the config folder and we don’t want that.)
Click the button ‘Add Folder’
Name the Folder what you want. Notice the Folder Path bar adjust to the name of the new Folder. Click Save.
Whew, Okay. I know that was a lot. But you stuck with it and you should be proud. Now to Summarize all the steps we just did,
-We spun up a docker container for Syncthing
-We ensured the connection to the Syncthing GUI is encrypted and has password authentication
-We changed the theme to Dark Mode (Obvious Choice)
-We changed the default save folder from the ‘config’ directory to the Syncthing base directory ‘Sync’
and finally, we re-added a folder that will properly save to our desired location.

We now have Syncthing running on our Host Machine and it will need to synchronize to another host.
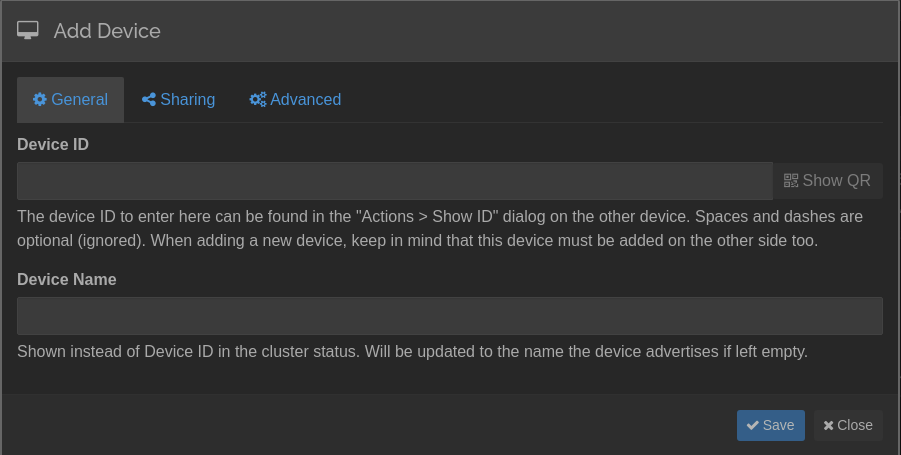
If we repeat these same steps, (assuming the other machine has Docker running on it) we can add the Remote Host by clicking the aptly named button ‘Add Remote Host’ on the bottom right of the Syncthing GUI.
To add a remote host you will need the Device Identification. You can find this by clicking the drop-down in the top right hand corner that says ‘Actions’ and click ‘Show ID’
Once again, this was a lengthy one. But once you deploy Syncthing on your hosts, and you have a wonderful Backup Solution that doubles as a Dropbox, I think you will find the juice was worth the squeeze.
Thank you so much for taking the time to read this.
Stay curious, friends.
